Our Capabilities are the Foundation of your Success.
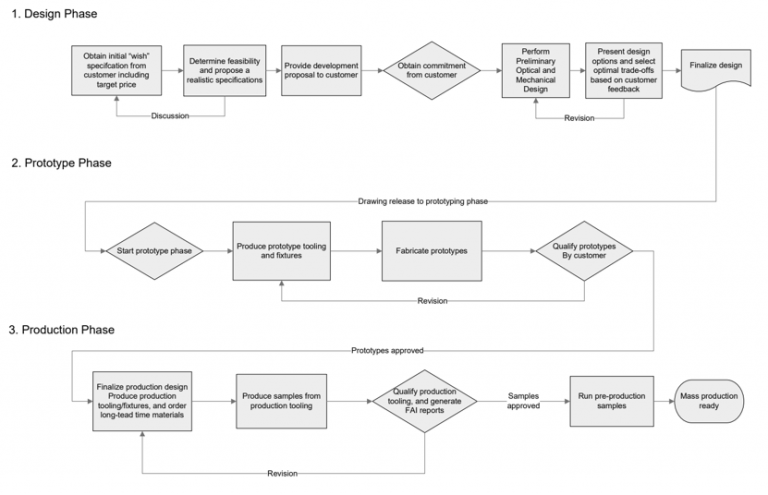 All along, project management will be provided through the US, and domain experts will be included and introduced into the conversation as needed.
We provide prototyping services for complete lens assemblies often as the first step after a new custom design. Using state-of-the-art fabrication processes, we can produce prototypes with short lead times to verify the design before transitioning further on the path to mass production.
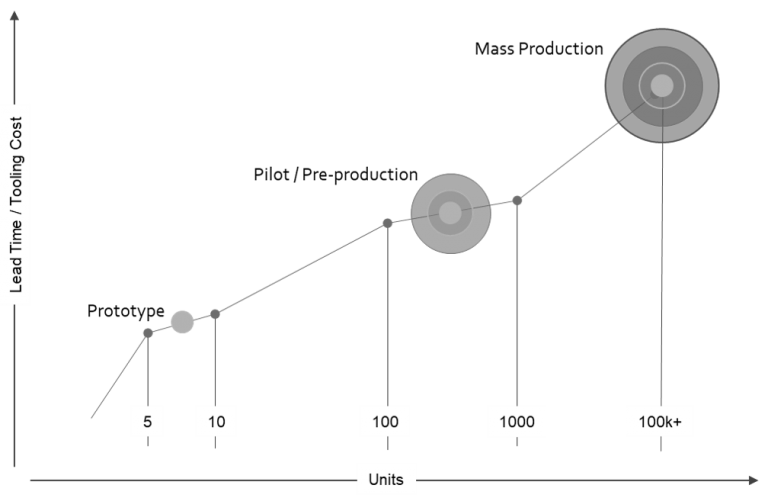
Evaluating the project stage, needs, and timelines, we discuss with our clients the appropriate strategy to proceed with prototypes. We leverage available in-house resources depending on the above-mentioned boundaries to deliver the products and quantities needed.
Glass optics – Glass optics are typically prototyped using the traditional glass manufacturing approach of cutting, grinding, and polishing. If required we can also turn to our Diamond Turning Process for aspherical or freeform elements.
Plastic optics – Aspherical plastic elements are typically prototyped using our Diamond Turning Machines. In this case, we place special emphasis on material selection during the design stage. The goal is to select a material that can be processed using Diamond Turning, as well as injection molding to avoid the need to switch material and reoptimize the design at a later point in time.
For cases where larger prototype quantities or pre-series quantities are requested, we consider fabricating high-precision, low-volume tooling first to economically and quickly verify the performance and demonstrate the manufacturability of the design. Once the prototypes and design are confirmed, the low-volume tooling can be scaled up for mass production by adding additional cavities.
Mechanical components – Mechanical components typically are first produced in aluminum using state-of-the-art CNC-machining equipment. The components are then finished matte black to minimize specular reflection. This process allows for quick validation of the lens assembly design before committing to production fixtures or tooling.
Prototype assembly – Once the components are fabricated and qualified, the assembly process takes place in our cleanroom assembly area. In many applications, aluminum mechanical components are suitable for production. However, if your application demands plastic mechanical components Sunex has the capability to provide this as well.
Once we have the prototype assemblies we conduct extensive tests to verify that they meet the agreed design requirements. Our engineering team designs and builds custom fixtures that enable us to test the new lens assembly on our in-house commercial test equipment. A typical set of tests includes optical performance, mechanical dimensions, cosmetics, and other functional requirements.
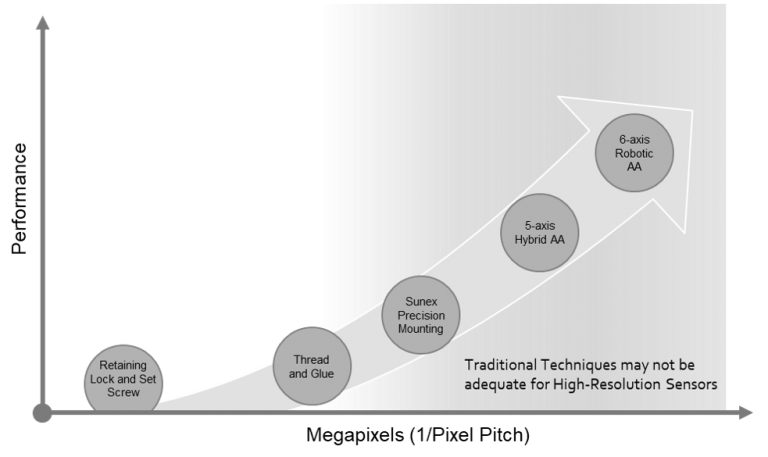
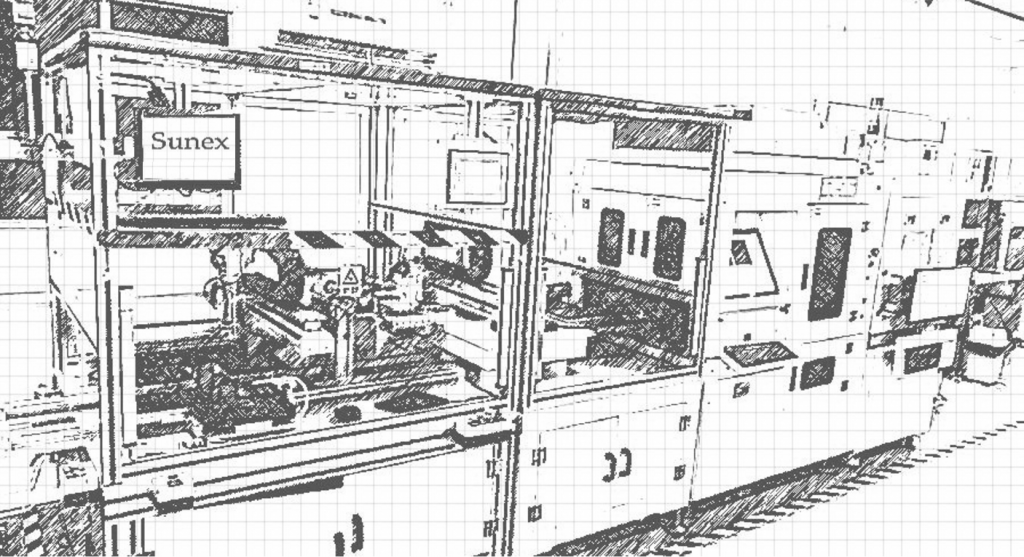
Every lens and project has its unique requirements, often leading to very specific manufacturing process needs. We evaluate each situation and decide which equipment to implement. We select from operator-based to fully automated production lines, manual, hybrid, and full 6-axis active alignment machines, to custom-developed automated gluing machines and other specialty equipment, to meet capacity and cost targets.
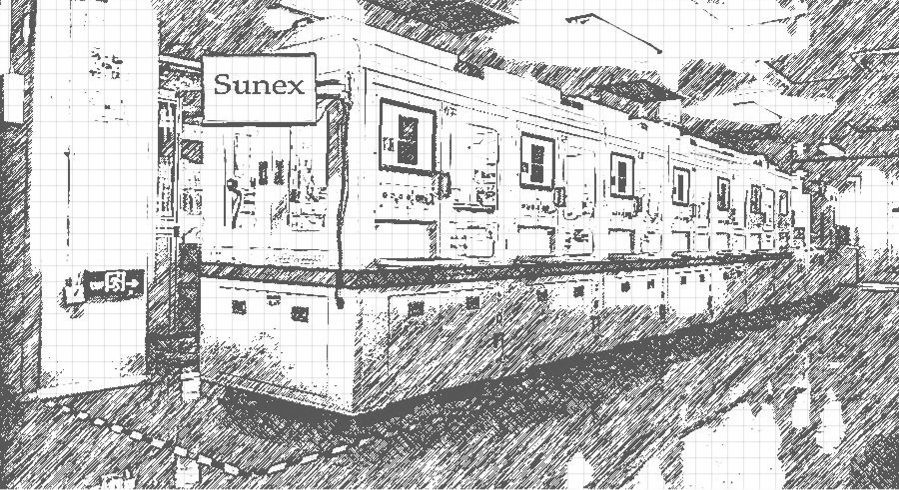
3-Level Clean Room Environment
We operate our manufacturing sites on a nested cleanroom level concept. The entire end-to-end production process is located in Class 10k cleanroom area. There within individual products have dedicated Class 1k Clean Cells with individual working tables for each assembly station of Class 100 (No of particles of size 0.5 µm or larger permitted per cubic foot of air) rating.
In addition, we also feature a dedicated medical device assembly facility. After incoming quality control (IQC), materials are entering the Medical Device Assembly, and only leave as fully assembled tested, cleaned, and packaged product.

Everything is tailored to mass production over many years, with tight tolerancing and small part-to-part variance. This approach not only makes for a better lens but is also positively impact camera-level yield.
For some programs and customers, we only design manufacture, and deliver the lens. In other cases we discuss will all parties involved, the best value-add Sunex can deliver to the success of the program. In these cases, we often also design and manufacture the sensor board in addition to the lens, with the key advantage of focusing the lens on the sensor using our experience in active alignment.
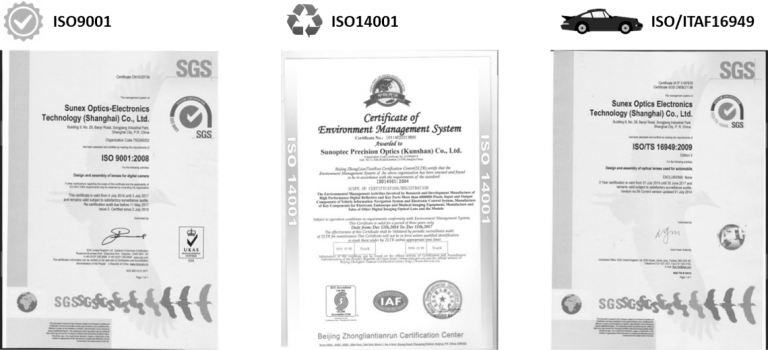
Our facilities have been audited and certified by numerous Supplier Quality Engineers, representing some of the most successful and best-established companies in their industries and regions.
We follow industry-leading compliance (RoHS, REACH, IMDS, etc.) and process ((Kaizen, APQP, PPAP, CP/CPK, SPC, etc.)) standards and regulations. Please contact us to request proof of our current certifications.
Testing (and simulating during the design phase) is an integral part of the lens development process. Sunex is using a wide range of state-of-the-art and industry-leading instruments and software tools; often complimented with custom instruments, fixtures, and test methods to solve challenges that the industry hasn’t addressed yet.
- Incoming Quality Control (IQC) is where the first sets of intensive tests and measurements are performed to ensure the quality and compliance of every single sub-component.
- Design Validation ensures that early R&D prototypes are tested to confirm the 1st order optical parameter of the nominal design.
- First Article Inspection (FAI) is an intensive and wide-ranging test protocol of optical and mechanical parameters for customer prototypes, A-Samples, and after design or process optimizations.
- Reliability (REL) & Environmental Testing is often depending on the application and use case of the final camera. The automotive industry is known for extensive testing requirements including extended high-temperature, humidity, UV-cycling, and many mechanical tests that challenge the product quality over a lifetime.
- End-Of-Line (EOL) Testing in Mass production is tailored to ensure a consistent quality of 100% of the manufactured and shipped parts. MTF, straylight, TTL, and pressure test for IP-rated lenses are the baseline for any lens we build.
- Outgoing Quality Control (OQC) including cosmetic inspection is the final step to ensure maximum quality and consistency before the parts get shipped out to the customer site.
It can not be understated how important collaboration with the customer’s engineering and quality teams is. Receiving feedback from the customer based on correlated measurements on the lens and camera level is critically important throughout the entire development cycle. The dialogue not only confirms the performance but also documents progress, and is the foundation for any optimization decisions.
In mass production, we discuss the exact testing requirements with our customers that ultimately approve and sign-off on the Manuacftruning (MFG) and Quality (QC) Control documents. These documents define the What, the How, the When, and the What-If, for every agreed lens specification.
Traceability through Data Matrix Codes (DMC) is the typical way how product and customer-defined information are stored. We use the DMC during the lens assembly process from IQC to OQC including real-time upload from every stage and station. If required, customers can get online access to the database for their particular products and part numbers to extend traceability through their own process and the full life-cycle of the product.


